Create a Backyard Adventure in Just a Few Steps
Installing a zip wire kit in your backyard might sound complicated, but with the right tools and instructions, it’s surprisingly easy. A zip wire kit is designed for straightforward setup, and once installed, it offers hours of high-speed fun for the entire family. Whether you’re a DIY beginner or a seasoned outdoor enthusiast, learning how to install a zip wire kit ensures safe and thrilling rides for years to come.
What You’ll Need Before Installing a Zip Wire Kit
Before you begin, gather these essentials:
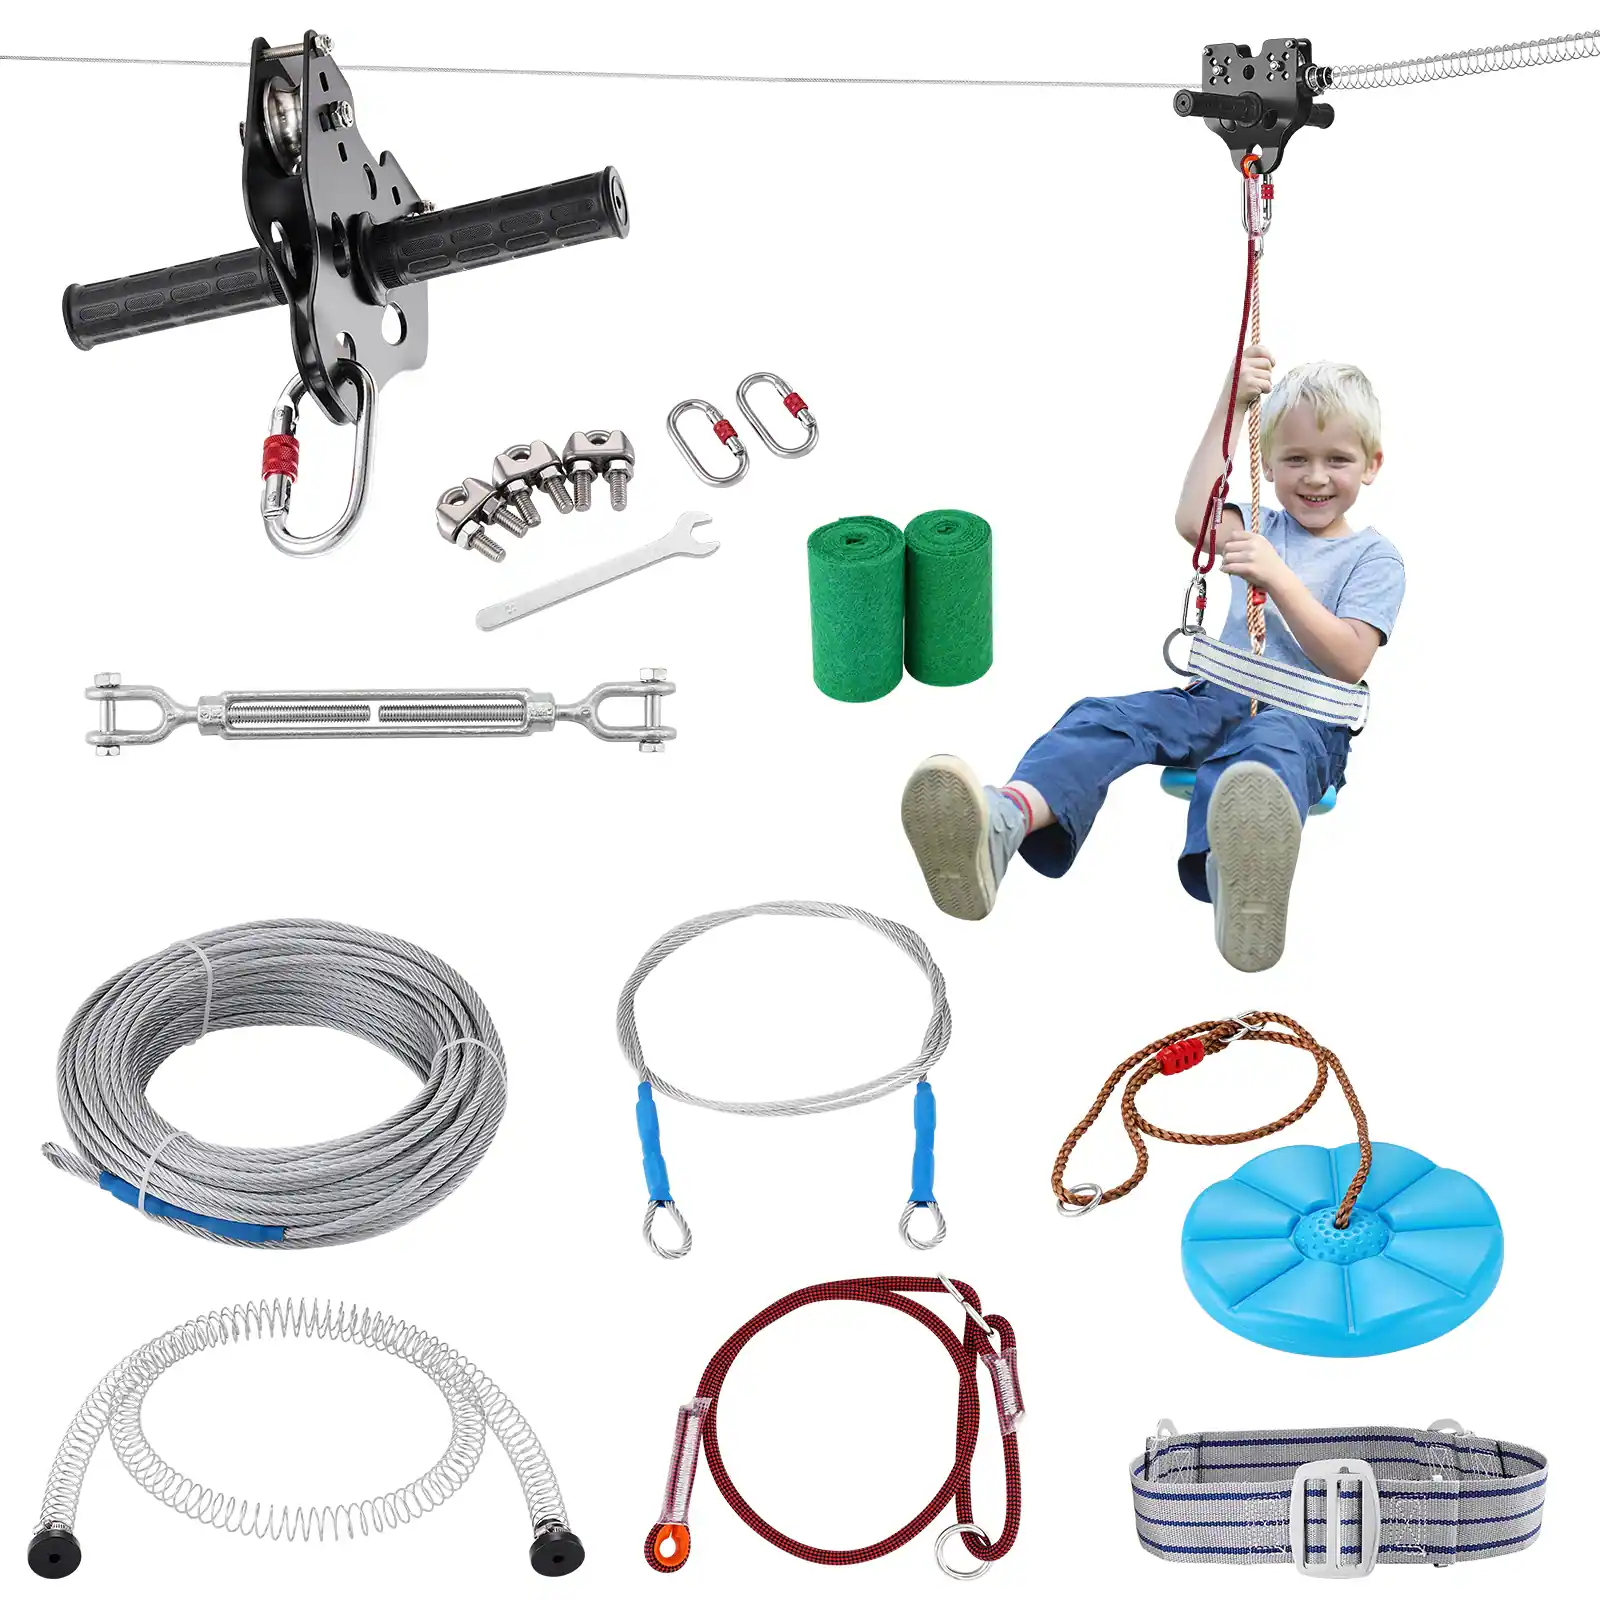
- A complete zip wire kit (including cable, pulley, seat, and tensioner)
- Two sturdy trees or posts spaced 50–100 feet apart
- A wrench or socket set
- A ladder
- Safety gear (helmet and gloves recommended)
Once you have everything, follow this step-by-step guide to install your zip wire kit properly.
Step 1: Choose the Right Location
Identify two strong anchor points in your backyard—usually two mature trees or fixed posts. The best setup for a zip wire kit is a slight downhill slope, which allows for a natural, fast glide.
Make sure the area beneath the cable is clear of obstacles like rocks, branches, or sharp objects. Safety starts with smart placement.
Step 2: Measure and Set the Cable Length
Use a measuring tape to determine the distance between anchor points. Most zip wire kit cables range between 50 to 100 feet. Leave a little extra length to account for wrapping and tensioning.
Make sure one anchor point is higher than the other to create a smooth downhill ride. A slope of 6–8% is ideal for a zip wire kit.
Step 3: Attach the Cable to the First Anchor Point
Secure one end of the zip wire kit cable to the higher anchor point. Use the provided U-bolts or clamps and ensure the cable is wrapped tightly around the tree or post. This step must be done securely to support the tension and rider’s weight.
Step 4: Run and Tension the Cable
Pull the cable to the second anchor point and attach it using the cable tensioner. The tensioner allows you to tighten the line until it’s firm. A properly tensioned zip wire kit will have minimal sag when weight is applied.
Double-check all fastenings before moving to the next step.
Step 5: Install the Pulley and Seat
Slide the pulley onto the cable before you fully tighten it. Then, attach the seat or harness securely to the pulley. Make sure the seat is at a height that allows for safe and easy access for riders.
If your zip wire kit includes a bungee brake or spring stop, install it at the lower end of the cable to ensure a smooth stop.
Step 6: Conduct a Safety Check
Before the first ride, test the zip wire kit with a light weight (like a sandbag or backpack). Observe the pulley movement and ensure the cable is stable and the tension is even.
Inspect all bolts, fastenings, and the seat connection. Every ride should start with a quick safety inspection.
Step 7: Let the Adventure Begin
Once everything is tested and secure, it’s time to enjoy your zip wire kit. Start with shorter rides for kids, and always supervise younger riders. Use helmets and gloves for added safety.
Maintenance Tips for Long-Term Use
- Inspect the cable monthly for wear or rust.
- Lubricate the pulley for smooth operation.
- Store removable parts indoors during bad weather.
Proper care will ensure your zip wire kit delivers thrills season after season.
Conclusion
Learning how to install a zip wire kit is simple with the right steps and tools. In just a few hours, you can turn your backyard into a private adventure zone. Whether for birthday parties, weekend fun, or daily play, a zip wire kit adds energy, excitement, and outdoor joy to your home. Follow these steps carefully, and let the backyard adventures begin!